The right vegetable gardening tips depend on whether you own your dirt or borrow it.
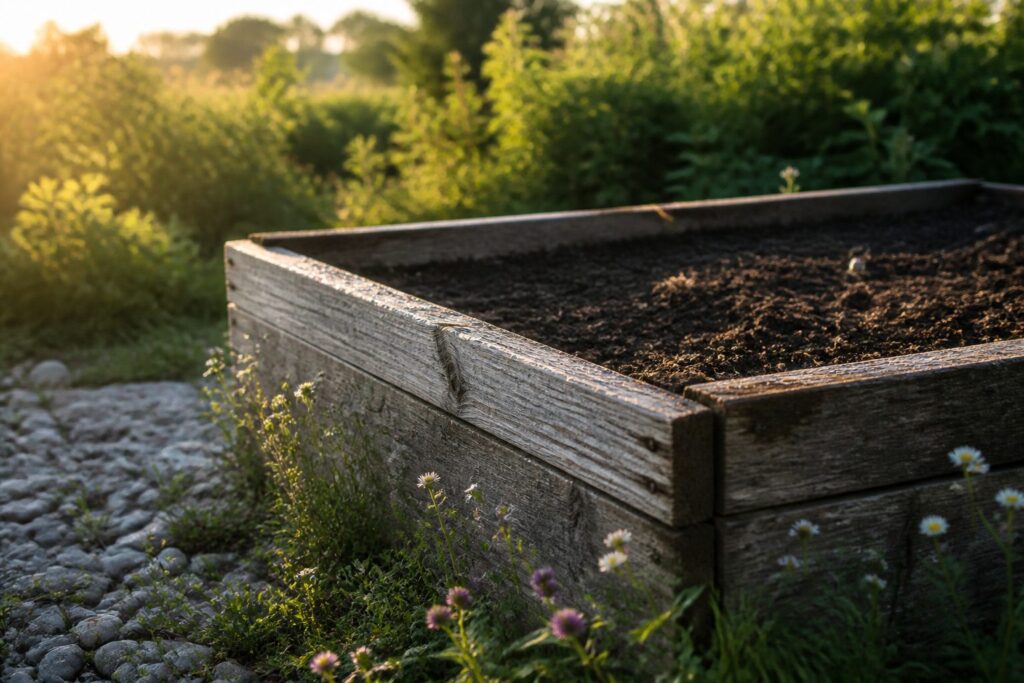
Native soil amendment runs $150–$200 per season for a 20 by 20 foot plot and stays behind when you leave; raised beds cost more upfront but disassemble in under an hour when the lease ends.
That portability is what makes the difference for renters testing a single season before committing.
[link-whisper-related-posts]1. Plan Your Garden Layout
The sun hits your yard differently at 9 a.m. than at 4 p.m., and most beginners figure this out after their tomatoes stretch and pale for weeks.
Tomatoes need 5–7 hours of direct sunlight daily, so tracking your light before you dig matters more than any grid you draw.
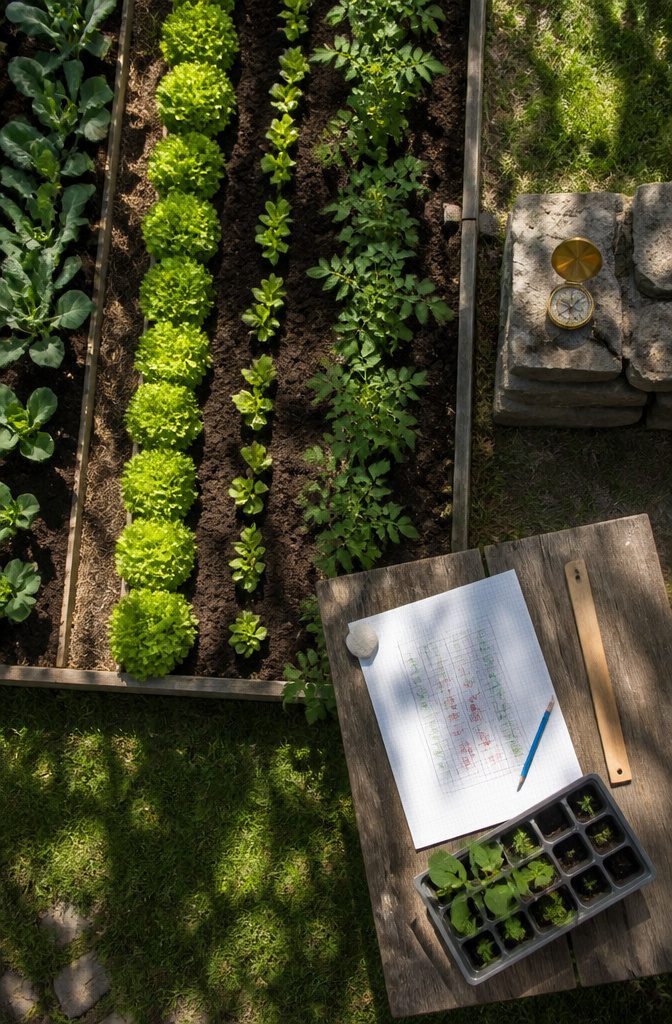
I use a compass app on my phone to map which way the garden faces, then spend one Saturday watching shadows move across the grass.
Walking paths eat more space than you expect. Two feet between rows is the minimum if you do not want to straddle plants every time you weed, and stepping on beds compresses the soil you just loosened.
Group plants by water needs while you are still at the paper stage; lettuce wilts fast in the same row as deep-rooted tomatoes that prefer a slower, heavier soak.
Graph paper helps here, though a freehand sketch works if you measure first. Know your square footage before seed catalogs arrive, because empty dirt tempts overbuying every time.

EASY TO USE & UNDERSTAND - Simplify your garden with our easy-to-use wheel-based vegetable garden planner! Determine seeds needed, planting depth, optimal spacing, and much more for 21 popular vegetables. The garden planner works in all regions of the USA and Canada. Simply adjust the frost line with the frost dates of your area to get started.

VEGETABLE GARDEN PLANNING TEMPLATE: Draw precise layouts with 1, 2, 4, 9, or 16 plants per grid square for perfect vegetable spacing.

🧭 Elegant Compass Rose Design Features a classic directional compass rose with raised lettering, adding timeless nautical charm to gardens, pathways, patios, courtyards, and outdoor landscapes.
2. Choose Beginner-Friendly Vegetables
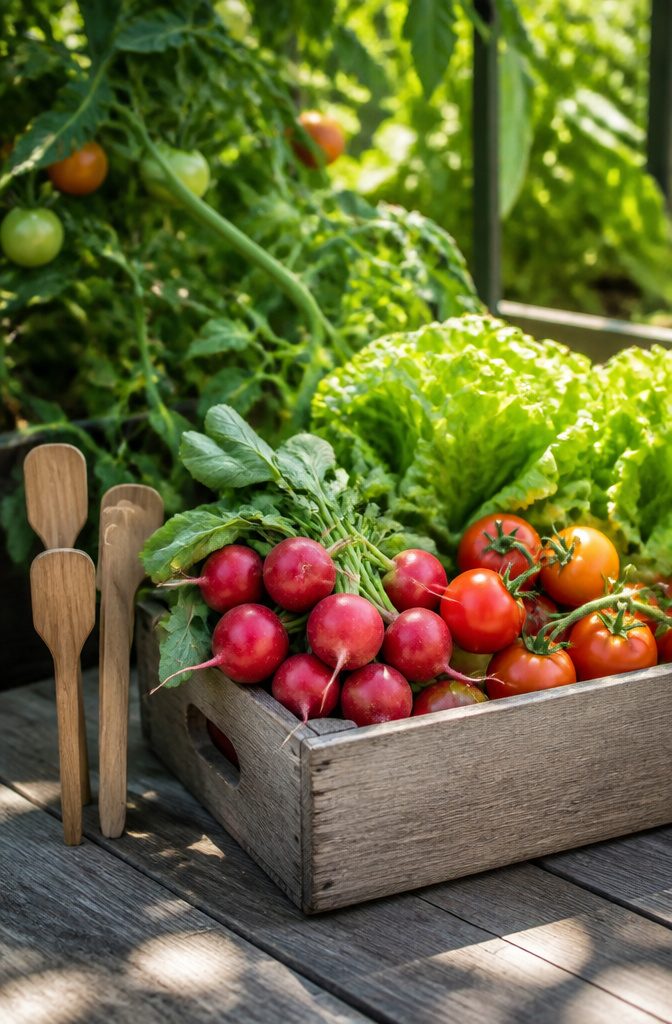
Radishes, lettuce, and tomatoes are the vegetables that come up again and again when experienced gardeners talk about starting out, and after comparing notes, I see why.
Radishes give you something to show for your work in about a month, which matters when you’re not yet sure you have the patience for this.
Lettuce keeps producing cut-and-come-again leaves without demanding perfect timing, and tomatoes, especially patio varieties, reward you heavily for the space they take if you can get them six to eight hours of sun.
The quick growth cycle is what separates these three from vegetables that test a beginner’s resolve.
Radishes practically announce themselves the moment they sprout. Tomatoes can be trickier depending on your zone, which is why the compact patio types make more sense than sprawling heirlooms for a first attempt.
Lettuce fills the gap in shadier spots where tomatoes would sulk, and it handles containers without complaint.
A local greenhouse or garden center will steer you toward varieties proven for your specific area, not just what ships well to big box stores. That conversation is worth the trip.

PERFECT FOR SMALL SPACES – Grow juicy, bite-sized cherry tomatoes in the smallest of spaces! Tiny Tim thrives in containers, patios, and even sunny windowsills, making it the ideal choice for home gardeners who love fresh, homegrown flavor without a large garden.


3. Prepare Your Soil
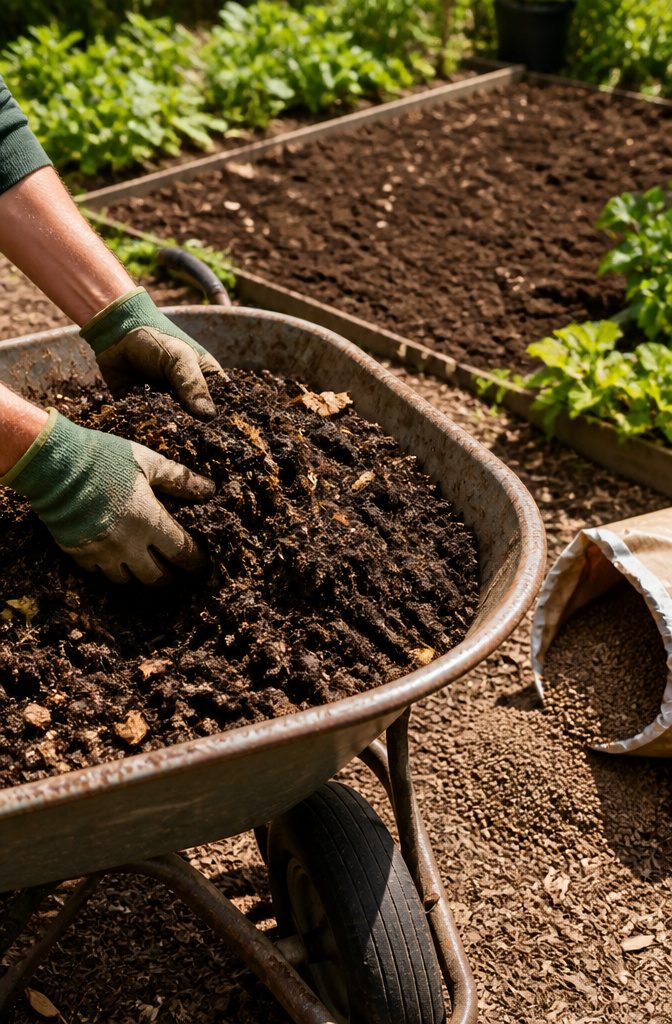
Nutrient-rich, well-drained soil is where most beginner gardens live or die.
Heavy clay or compacted dirt suffocates roots; sandy soil drains too fast for vegetables to feed. The fix is adding organic matter that loosens structure while it holds moisture.
Miracle-Gro Expand N’ Gro claims to add 90% more air to soil and hold up to 50% more water than basic potting soil.
The bag runs about $15 for enough to cover a small raised bed, and it swells when watered, so a little volume goes further than it looks. For renters or anyone testing a single season before committing, that predictability matters.
Compost costs nothing if you have a bin running, or $3–5 a bag if you buy it. It does the same structural work over time, just slower and with less precision in the mix.
My own beds started with store-bought amendment the first year; by year three, the compost pile had caught up and I stopped buying in.
Either path works. The mistake is skipping amendment entirely and hoping vegetables punch through native dirt on their own.

CONTAINER GARDEN COLLECTION: This specially curated pack features compact and productive varieties perfect for growing in containers, patios, and small garden spaces. From fresh greens and herbs to vibrant vegetables, this collection ensures a rewarding harvest in limited spaces.

FALL AND WINTER VEGETABLE SEEDS: 8 non-GMO heirloom varieties for planting vegetables in cool weather gardens, cold frames, raised beds, and containers

4. Water on a Schedule
Morning wilting is the plant’s honest feedback: soil dried an inch down means water now, not tonight. In peak summer that check becomes a daily habit, and weekends away turn a promising bed into a lesson in crispy leaves.
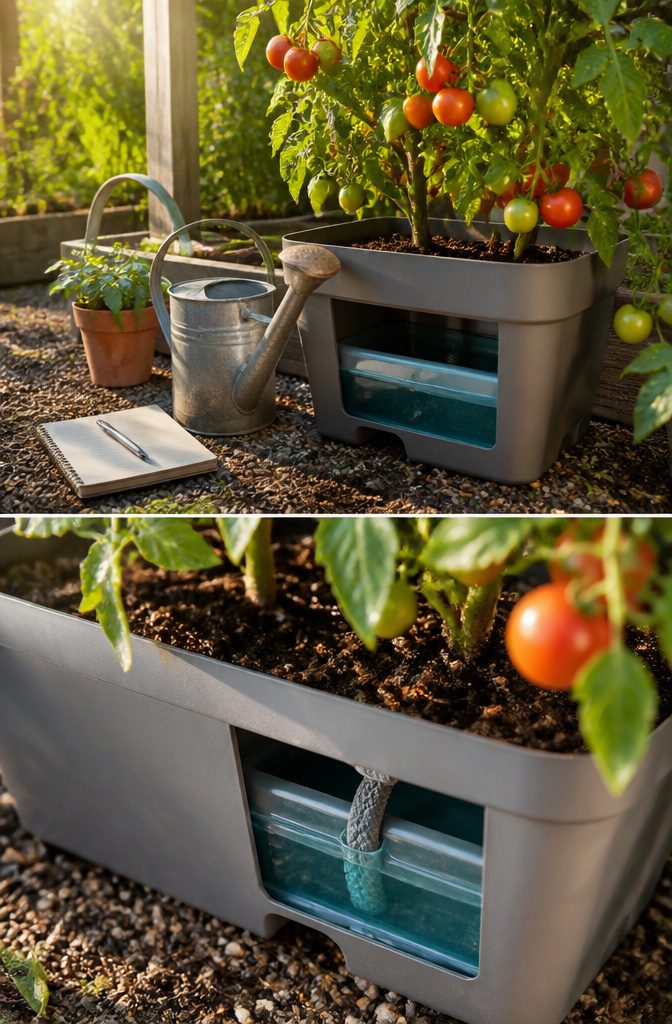
Self-watering containers solve this with a reservoir below the soil that the roots draw from as needed. A full reservoir can stretch to three or four days, which covers most short trips without asking a neighbor.
They cost more upfront than a standard pot, but for renters who may not have drip-line permission or who treat the garden as one of several weekend projects, the trade is sensible.
Hot climates make early watering worth it; reservoir tomatoes outlast hand-watered pots by two days in a June heat wave, which was enough to switch two of my containers over.
The rest of the beds still need the schedule, though. No reservoir replaces sticking a finger in the dirt and learning what bone-dry actually feels like against damp.

ALL-NATURAL MIX: Burpee Organic Premium Potting Mix is formulated with plant food & coconut coir to promote seed & root growth and healthy flower, vegetable & herb plants. OMRI Listed for organic use.

Nutrient-Rich Organic Compost for Healthy Soil: Support stronger plant growth with this premium organic compost made from dairy cow manure. This all purpose soil amendment helps replenish essential nutrients often depleted after harvests, making it ideal for vegetable gardens, fruit trees, flowers, lawns and container plants.

5. Add Flowers for Companion Planting
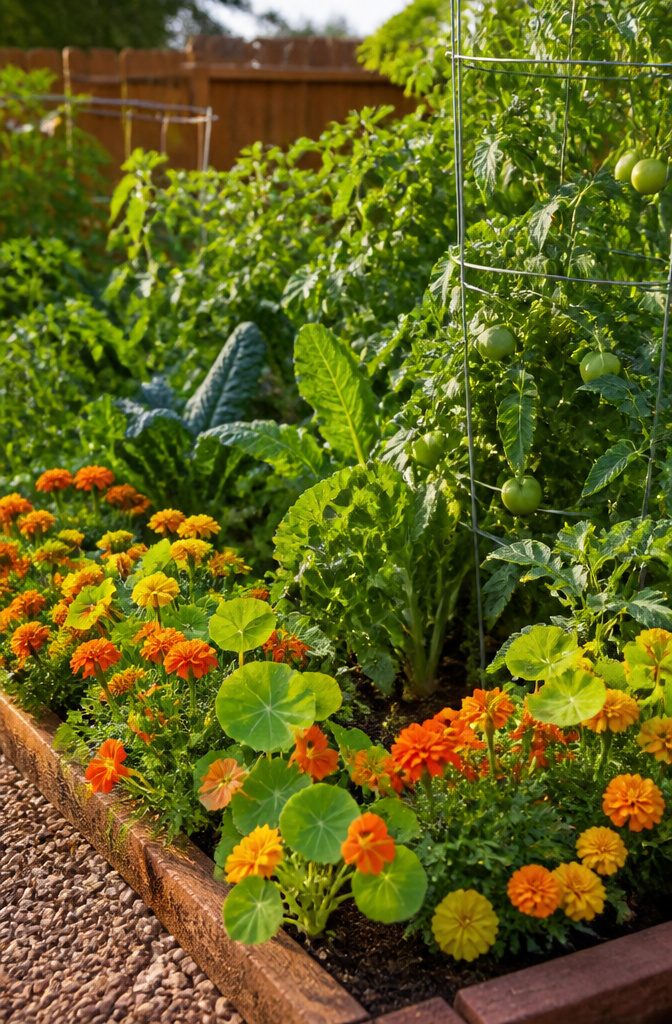
Marigolds and nasturtiums were the first additions to my vegetable beds after I noticed bees bypassing my tomatoes entirely.
A packet of each ran about $4 at the hardware store, and the seedlings went in around the edges of existing beds without requiring any new ground.
Marigolds deter aphids and whiteflies with their root secretions, while nasturtiums act as a trap crop, drawing pests away from beans and squash.
Zinnias and cosmos pull in the pollinators that actually set fruit on cucumbers and peppers, something no amount of hand-watering fixes if they never show up.
Sunflowers work too, though they cast shade you have to plan around. The whole effort added maybe an hour to a Saturday planting session and cost less than a single replacement tomato plant.
One season in, the corner with flowers produced noticeably more peppers than the bare row ten feet away. That gap has since disappeared; every bed gets a border now.
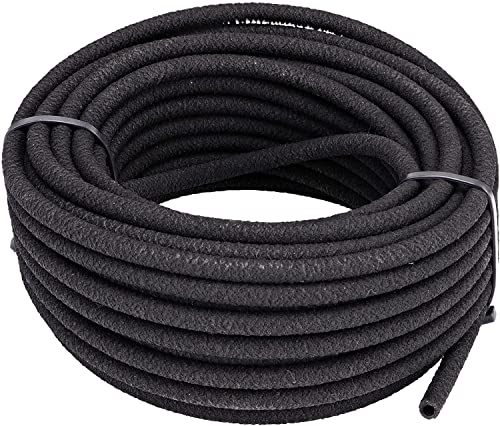
Slowly waters the soil around your plants for complete root zone hydration; Ideal for short runs on flat surfaces, such as vegetable gardens, borders, and around small plants
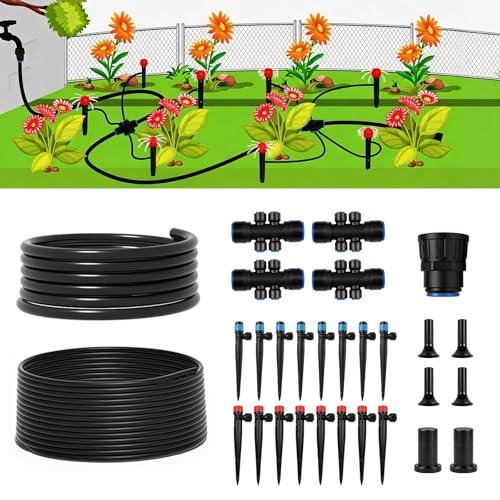
TRUE QUICK CONNECT – NO LEAKS, NO STRUGGLE: Unlike traditional kits that require twisting and force-fitting, our quick-connect design lets you simply push tubing into place. Secure, leak-resistant connections every time — no tools needed.

【Even & Consistent Root Watering】Features micro-pore seepage technology that distributes water evenly along the entire hose, transforming spot watering into uniform line watering directly to plant roots. Unlike traditional drip irrigation systems with clog-prone emitters, this soaker hose creates a continuous moisture band for healthier, deeper-rooted plants
6. Manage Pests Without Chemicals
A bag of sabadilla powder sat in my shed for years before I finally used it on horseradish that harlequin beetles had turned bitter.
That was the first and last chemical control I’ve touched. The beetles arrived with spiderwort planted somewhere in the neighborhood, and now they harass my cole crops too.
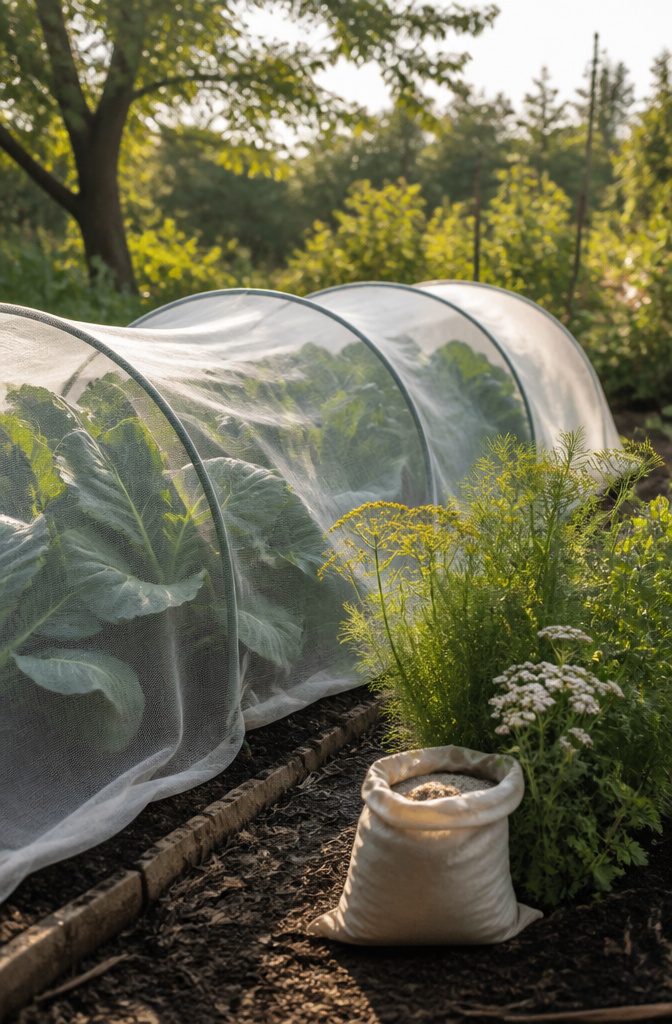
A reemay cover with hoops from Gardener’s Supply Catalog draped over brassicas keeps pests off without chemicals. Neither cabbage loopers nor beetles should get through.
Renters especially have reason to skip chemical solutions.
Spray drifts onto a landlord’s siding, or lingers in soil you’ll leave behind, and the security deposit conversation gets awkward fast. Building the garden as a small ecosystem you take care of handles pest pressure without that risk.
Attracting predator insects means planting what they want.
Yarrow, dill, and fennel draw lacewings and parasitic wasps that pick off aphids and caterpillars. A shallow dish of water with stones for landing pads keeps them around through dry spells.
Killing all the bugs in your yard can actually make your pest problem worse the next year. Instead, build a garden that encourages beneficial insects that prey on pests and do a better job of keeping them in check over time.
What that means practically: tolerate some pest presence.
The predators need food to stay. A few chewed leaves now saves a destroyed crop later.
7. Harvest at the Right Moment
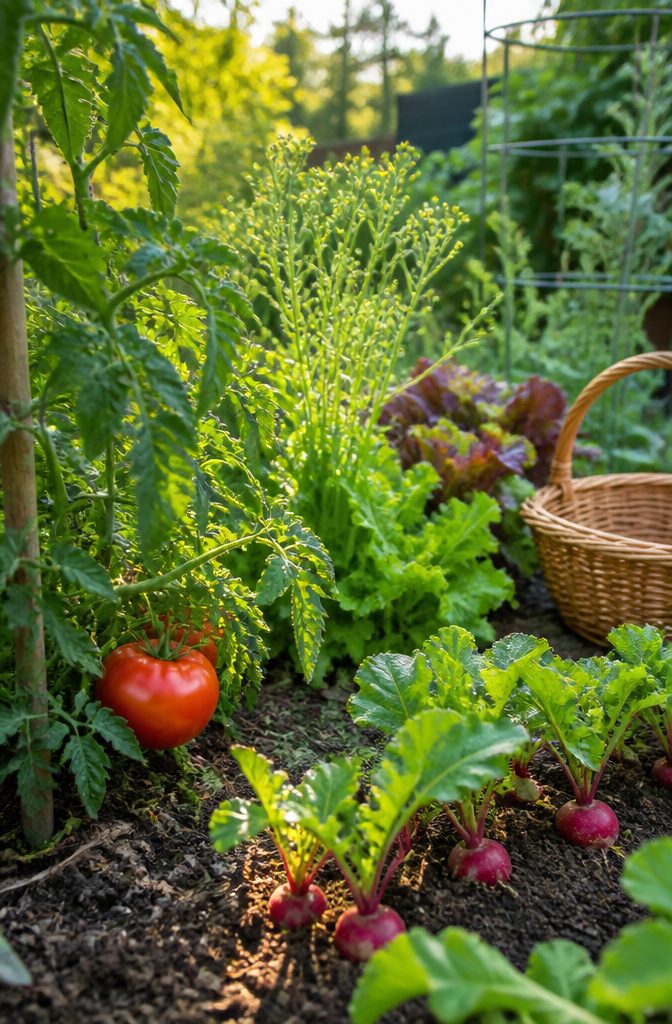
The difference between a radish that snaps with peppery sweetness and one that tastes like fibrous disappointment is usually about three days of waiting too long.
Radishes push their shoulders above the soil line when they are ready, a visible signal that removes the guesswork.
Pull one to check size, then harvest the rest promptly; left in the ground, they turn woody and hot enough to clear sinuses.
Lettuce sends its own warning. The central stem elongates and the leaves narrow, a process called bolting that shifts the flavor from mild to bitter almost overnight.
Cut outer leaves early and often, or harvest the whole head the moment it feels firm and full, before that upward stretch begins.
Tomatoes need patience, then a sudden lack of it. A fully red tomato held on the vine until it develops slight give to a gentle squeeze carries more depth than one picked at first blush.
The sugars concentrate in those final days. But leave it too long, and a cracked skin or a squirrel beats you to the reward.
Flavor compounds in vegetables peak and decline fast.
Beginners often assume bigger means better, or that the plant decides the schedule. The plant decides survival; the gardener decides dinner.

PERFECT FOR SMALL SPACES – Tiny Tim’s compact plants thrive on patios, balconies, or sunny windowsills, giving you fresh cherry tomatoes even without a traditional vegetable garden plot

Compact Patio Variety – Perfect for pots, containers, and small gardens, Easy to Plant even in limited spaces.

Premium Cherry Tomato Seeds: Authentic Open-Pollinated Premium Heirloom Seeds (USA) Non-GMO, Untreated, High Germination Rate. High-growing variety for open ground, greenhouses, patio containers, and urban farming. Explosive berry flavor. Cascades of glossy ruby clusters. Prolonged fruiting cycle.
Gardening with Kids
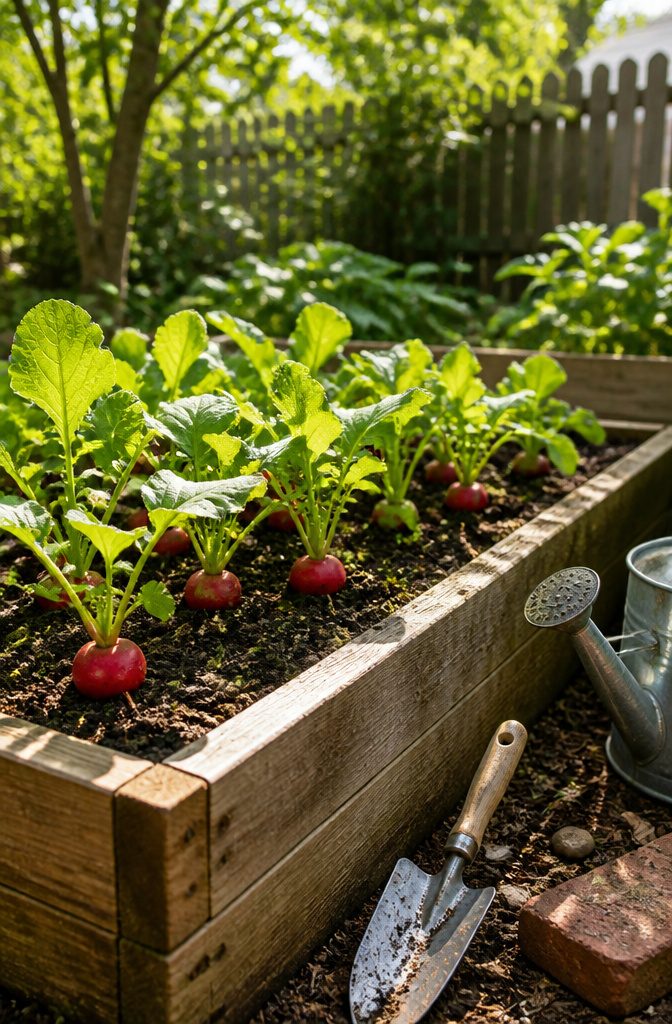
Radishes pull most kids into gardening faster than anything else on the seed rack. Radishes come up in about three weeks, which is roughly how long a third-grader can stay interested without seeing something happen.
Mine went from sprinkling seeds to pulling full bulbs before she lost patience with the whole idea, and that timing matters more than the variety.
Leafy greens and cold-hardy crops like carrots work in shadier corners where kids can still claim their own patch, though carrots need thinning. Skip that step and you end up with bushels of teeny tiny thin carrots, which disappoints everyone.
Sugar snap peas keep producing if you sow every couple weeks instead of once, so the harvest becomes an ongoing activity rather than a single afternoon.
A small backyard still leaves room for engagement if you let children handle the parts they can manage: pressing seeds into damp soil, checking morning moisture with a finger, hunting for the first true leaves.
The mistake is treating them as spectators. Cucumbers or any vine can grow vertically on a simple trellis, which turns pruning and guiding into a physical task they actually want to do.
The garden becomes theirs when the work is real and the result ends up on their plate.

15 HEIRLOOM SEED PACKS - Basil (Ocimum basilicum), Chives (Allium schoenoprasum), Red Russian Kale (Brassica napus), 3 Lettuce types (Lactuca sativa), Nasturtium (Tropaeolum majus), White Onion (Allium fistulosum), Pak Choi & Tatsoi (Brassica rapa), Parsley (Petroselinum crispum), Radish (Raphanus sativus), Alpine Strawberry (Fragaria vesca), Swiss Chard (Beta vulgaris), Thyme (Thymus vulgaris)

Gardening Kit: 55 Most Popular Vegetable Seeds Variety Pack NON GMO Heirloom Seeds LESS THAN $0.70 PER SEED VARIETY PACK 35,600+ seeds including: Artichoke, Arugula, Bean, Beet, Bok Choy, Broccoli, Brussel Sprouts, Cabbage, Carrot, Cauliflower, Celery, Collard, Corn, Cucumber, Curled Cress, Eggplant, Endive, Kale, Kohlrabi, Lettuce, Mache Corn Salad, Okra, Leek, Scallion, Onion Parsnip, Pea, Pepper , Pumpkin, Radish, Rapini, Spinach, Squash, Sunflower, Swiss Chard, Tomatoes, Turnip, Zucchini.
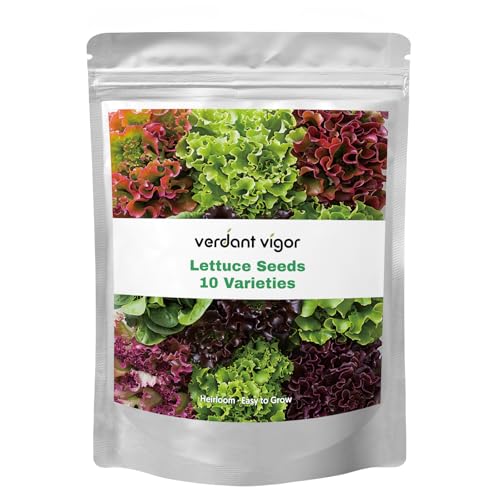
Healthy Food Source: Because of its tender flavor, lettuce is a popular vegetable for salad, sandwiches, wraps, soups, stir-fries and juice. There are over 20,000 seeds, 10 kinds of lettuce collection, including bibb, boston, iceberg, buttercrunch, grand rapids TBR, oakleaf, ruby leaf, cimmaron romaine and waldmann's
Small-Space and Urban Options
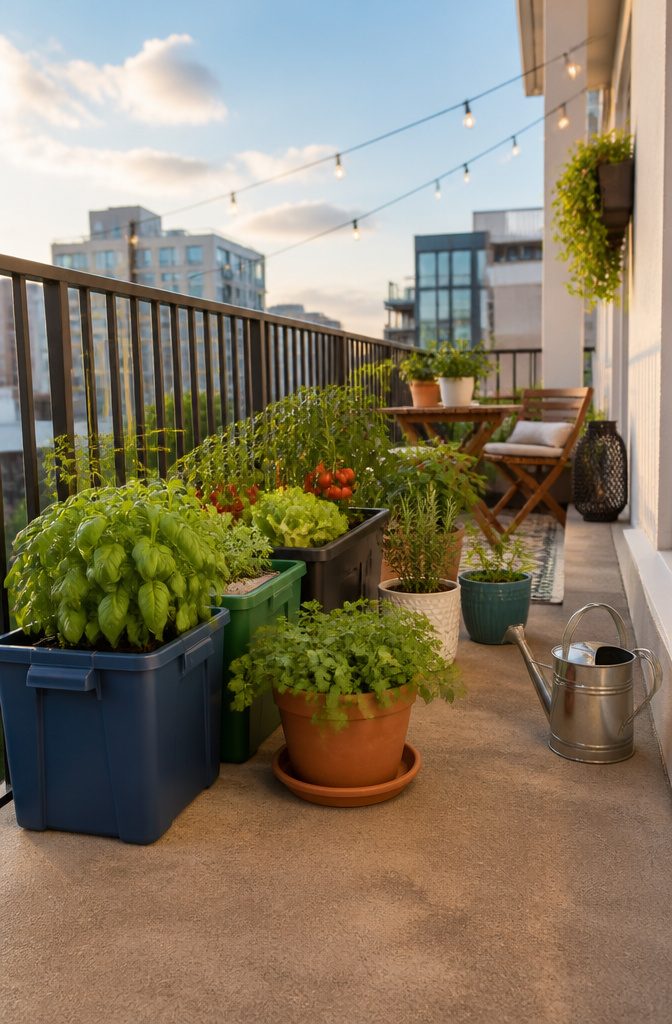
Container gardening is where most renters start, and the first thing to figure out is whether your priority is budget or looks.
Vegetables and herbs grow fine in bins and buckets, not just clay pots, so spending a lot on a container system is not critical.
That said, dozens of products now market themselves as visual centerpieces for small spaces, and the choice matters more if your garden sits where guests see it.
Dirt and water get messy fast on a balcony. A plant saucer, tray, or mat under every pot protects the surface underneath from stains.
For soil, let retailers do the work: bags labeled for herbs and vegetables are pre-blended mixes of dirt and organic material, and garden centers or hardware stores stock them based on what actually grows in your region.
Read the bag, match it to your setup, and call it done. Composting can wait.
Vertical gardening gets mentioned in most guides but rarely explained past the name. What actually works in documented setups: wall-mounted planters, rail-height boxes that sit on balcony ledges, and containers stacked upward rather than outward.
The rail-height option is especially useful for renters, since it uses existing structure without drilling into someone else’s building.
One limit to remember: neighborhood animals or pets may reach plants more easily when they are off the ground, so a small barrier or strategic placement saves you from replanting.

Ready-to-Use Formula: No mixing or extra steps required. Simply pour and plant - perfect for gardeners of all experience levels.

Ready to Use, Right from the Bag: No prep required. This raised bed garden soil is packed with organic compost and nutrients, ready to use for quick and easy planting

Cold Climate Workarounds
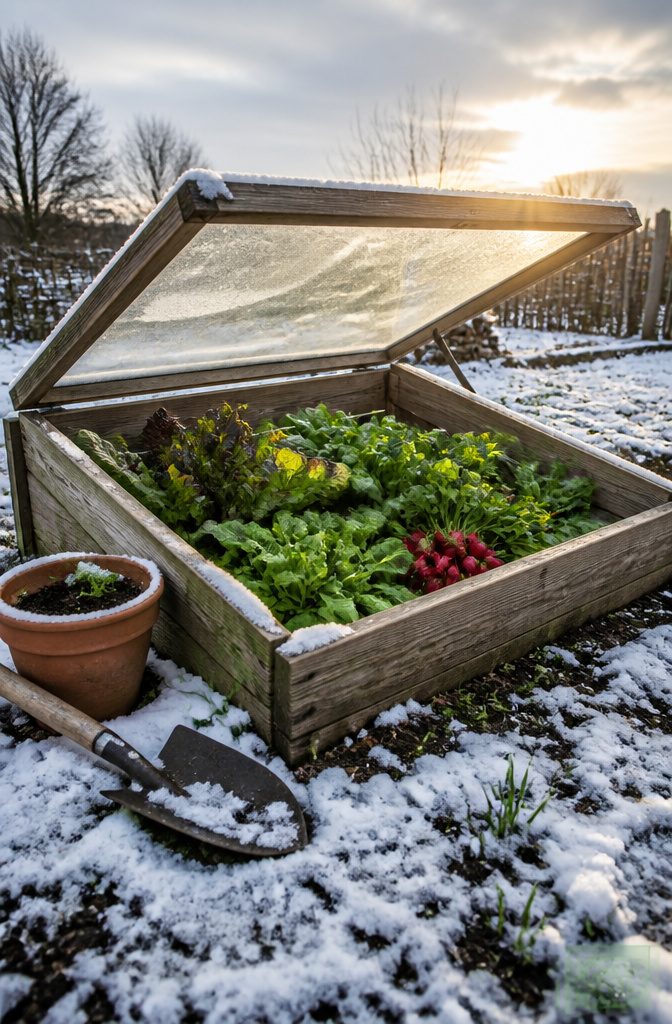
Shorter seasons do not mean smaller harvests if you pick vegetables built for the cold. Peas, lettuce, broccoli, kale, and collards go into the ground in late March and can be planted again in July for a fall crop.
Root vegetables follow in April: radishes, carrots, turnips, parsnips, and beets all tolerate soil that would rot tomato seeds. Leafy greens and radishes even manage in partial shade where sun-hungry crops fail.
The real trick for northern renters is stretching the weeks you actually have. A simple cold frame or row cover bought or built for under $50 often adds two to four weeks on each end of the season.
I have seen friends turn a sunny garage roof into a nine-bed growing space when their yard stayed too shaded; the vegetables do not care about the elevation, only the light and the temperature you give them.
Microgreens on a windowsill fill gaps when outdoor planting is still impossible.
Tomatoes and peppers are not off the table, but they demand extra care in cold, damp soil and low bee activity. Start with what works without coddling, then experiment once the basics are reliable.

🌷With perfect gardening automatic watering system🌷: 1 set of automatic watering system, 32FT 5/16“ID thick hose +1/4" hose 130FT, adjustable water volume gushing sprinkler nozzle 16PCS, plant root drip irrigation sprinkler nozzle 12PCS, 1 set of 3/4" Y-connectors, 32 sets of other connectors.

【Upgraded Tube Design & Water Saving】 Our adjustable garden watering system is upgraded to 1/2” diameter to support high water pressure. The 1/2” tee connector in the package so you can easily set up 2 drip irrigation systems as needed. Garden watering systems minimize stage water loss by recharging water directly to plant roots. While traditional irrigation often results in wasted water, this drip irrigation system saves up to 70% of water, no need for manual watering, saves water.

[240FT Complete Drip Irrigation Kit]:Includes 40FT heavy-duty 1/2" main tubing and 200FT 1/4" distribution lines. This versatile set provides 136 essential drip irrigation parts, allowing you to customize a large 240FT system or two separate 120FT watering zones for your garden layout.
Raised Beds Against Native Soil
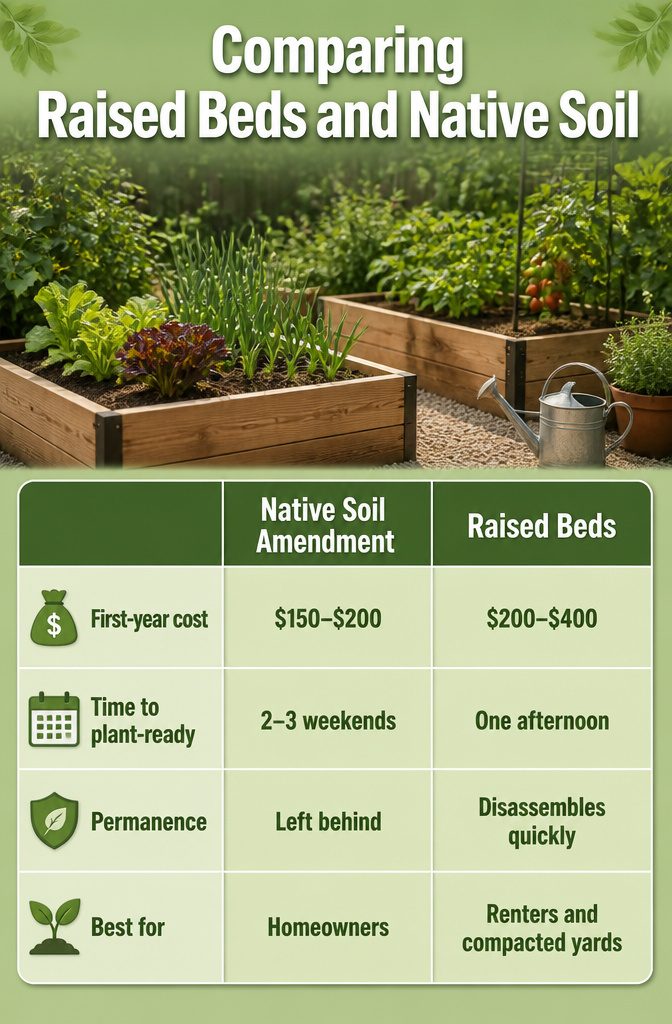
Native soil amendment looks cheap on paper until you price the repeat doses.
A single season of bagged compost, peat, and lime for a 20 by 20 foot plot can run $150–$200, and heavy clay or sand needs that investment again the next year.
Raised beds cost more upfront but move with you, which matters when the lease ends.
| Native Soil Amendment | Raised Beds | |
|---|---|---|
| First-year cost | $150–$200, often recurring | $200–$400 for cedar or composite kit |
| Time to plant-ready | 2–3 weekends of digging, mixing, waiting | One afternoon of assembly |
| Permanence | Left behind for the next tenant | Disassembles in under an hour |
| Best for | Long-term homeowners with decent existing soil | Renters, compacted yards, or contaminated lots |
I went with raised beds at my last rental because the backyard had been a parking pad.
The soil underneath was gray and smelled like oil when I turned it. Two 4 by 8 foot cedar beds from a local hardware chain, about $85 each on sale, sat right on top with landscape fabric underneath.
Three years later I broke them down in twenty minutes and the wood still had life in it for the next garden.
The limit is weight. Filled with soil, a 4 by 8 bed pushes 500 pounds.
Planters on legs solve that but run smaller and cost more per square foot. For anyone with a truck or a delivery fee budget, the ground-level kit wins on growing space per dollar.
Organic Versus Chemical Pest Control
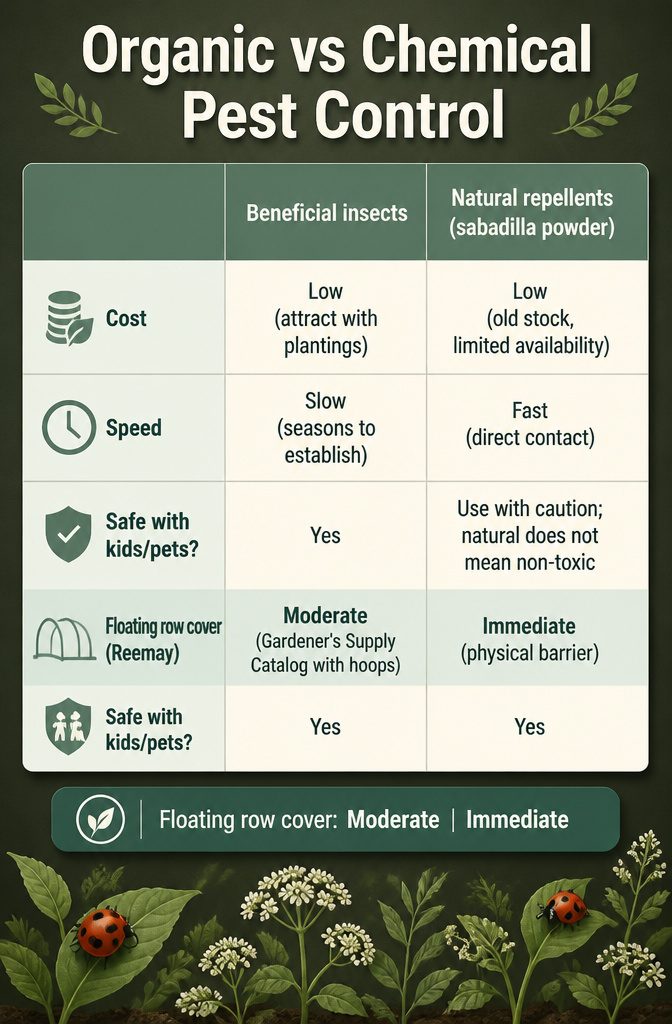
Sabadilla powder on horseradish works when harlequin beetles have turned the roots bitter.
That dust had sat in my shed for years before I needed it. Now I run floating row cover over my cole crops instead, and skip the dust entirely.
Beneficial insects do the patrol work for free once they settle in.
Ladybugs, lacewings, and parasitic wasps keep pest populations in check season after season. Killing every bug with a broad chemical spray wipes out the predators too, and the problem bounces back worse the next year.
| Method | Cost | Speed | Safe with kids/pets? |
|---|---|---|---|
| Beneficial insects | Low (attract with plantings) | Slow (seasons to establish) | Yes |
| Natural repellents (sabadilla powder) | Low (old stock, limited availability) | Fast (direct contact) | Use with caution; natural does not mean non-toxic |
| Floating row cover (Reemay) | Moderate (Gardener’s Supply Catalog with hoops) | Immediate (physical barrier) | Yes |
Row cover wins for speed and safety together. Chemical shortcuts cost less upfront but train you into a cycle that gets expensive fast.
Frequently Asked Questions
What vegetables are easy to grow for beginners?
Radishes, lettuce, and tomatoes are the most reliable choices for new gardeners.
Radishes produce edible bulbs in about a month, lettuce regrows after cutting, and compact patio tomatoes deliver heavy yields for the space they need. A local greenhouse can point you toward varieties proven for your specific area.
How do I prepare my soil for planting?
Add organic matter that loosens structure while holding moisture. Heavy clay or compacted dirt suffocates roots; sandy soil drains too fast.
Options include a $15 bag of soil amendment that expands when watered, or compost at $3–5 a bag that works slower but builds fertility over multiple seasons. Skipping amendment entirely and hoping vegetables punch through native dirt is the common mistake.
What are the best watering techniques for a vegetable garden?
Check soil daily by sticking a finger an inch down; if it is dry, water immediately in the morning.
Self-watering containers with a reservoir below the soil can stretch to three or four days between refills, which helps during short trips or heat waves.
They cost more upfront than standard pots but reduce the risk of crispy leaves after a weekend away.
How can I manage pests organically?
Build a garden that attracts beneficial insects rather than killing every bug. Yarrow, dill, and fennel draw lacewings and parasitic wasps that prey on aphids and caterpillars.
Floating row cover over brassicas blocks cabbage loopers and beetles physically, with no spray drift to worry about. Tolerating a few chewed leaves now keeps predator populations fed so they stay to protect later crops.
When should I harvest my vegetables?
Pull radishes the moment their shoulders push above the soil line; waiting three days too long turns them woody and harsh.
Harvest lettuce before the central stem elongates and the flavor turns bitter. Let tomatoes redden fully on the vine until they give slightly to a gentle squeeze, since sugars concentrate in those final days.
What month should you start a vegetable garden?
In cold climates, peas, lettuce, broccoli, kale, and collards go in during late March, with root vegetables following in April.
A cold frame or row cover can add two to four weeks on each end of the season. Start with what works without coddling, then experiment with heat-loving crops once the basics are reliable.
What vegetables grow best together in a garden?
Group plants by water needs and light requirements rather than following rigid formulas. Lettuce handles shadier spots where tomatoes would sulk, and tomatoes need deeper, less frequent soaking than lettuce prefers.
Add flowers like marigolds around bed edges to deter aphids, nasturtiums as trap crops for beans and squash, and zinnias or cosmos to pull in pollinators for cucumbers and peppers.